Page 10
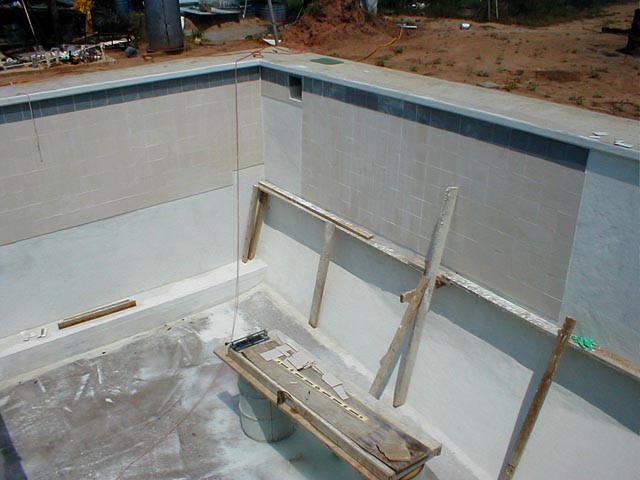
We put up the tile in vertical rows. Since the tile would sag down the wall, we used clamps and wedges between the tile and the scaffold shown below to hold the tile in place until it set enough to stay put. By the time we finished this tiling job we were putting up tile in batches of 30 to 40 at a time. Notice the corner fillet previously mentioned.
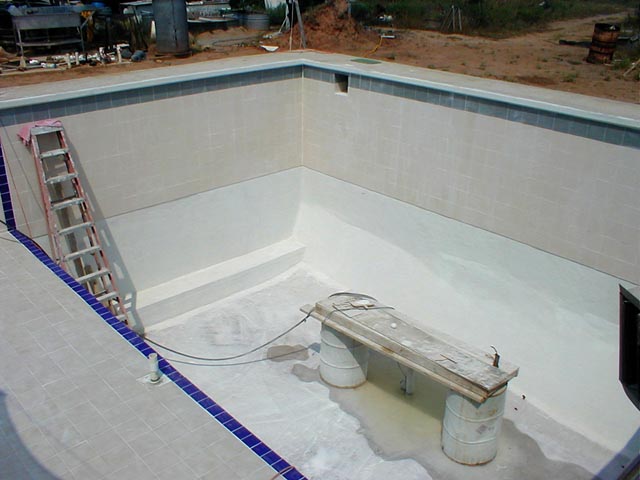
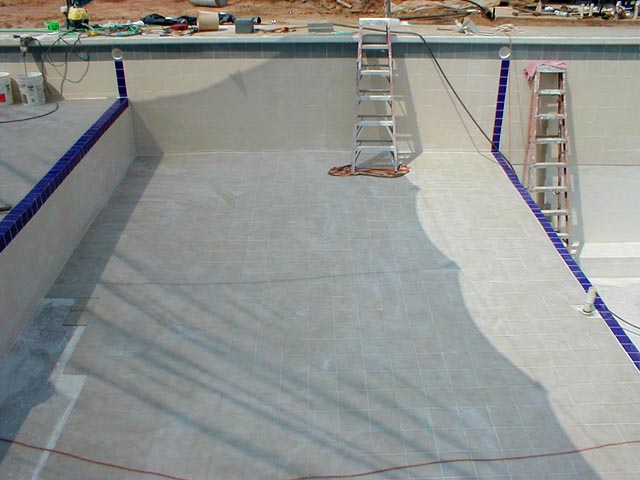
At the right side of the picture below, you can see a stub of pipe next to the blue marker tile. This pipe is in a socket in the floor for volleyball / basketball poles. There is another socket on the left, but it is hard to see in this photo. This is why we call this the "play area." Unlike pools with sloping bottoms, this pool allows for water sports. This photo also shows the recessed safety rope anchors in line with the blue marker tile.
Some might wonder why we decided to tile the entire pool. When we researched the different types of pool surfaces, we found that only tile stood a chance of lasting a lifetime. The most common finish is pool plaster over gunite. This is the second best finish but is only expected to last 7 to 10 years. Plastering is a highly skilled art and for a pool like this would cost about $10,000 to have it done. This is almost as much as we spent on the entire pool. If we did it ourselves, it would have cost almost as much for the material as we paid for tile. The total cost for this pool was $13,500. This includes the filter, pump, tile, solar blanket, tool purchases / rental, and everything except labor which was, of course, free.
Would we build a pool like this for anyone else? Not for less than $60,000.
We managed to swim in the pool for about 3 weeks before the weather turned too cold. As I write this, it is the middle of July the following year (2003.) To see the finished pool click here.
Thanks for looking,
- Jim