Page 2
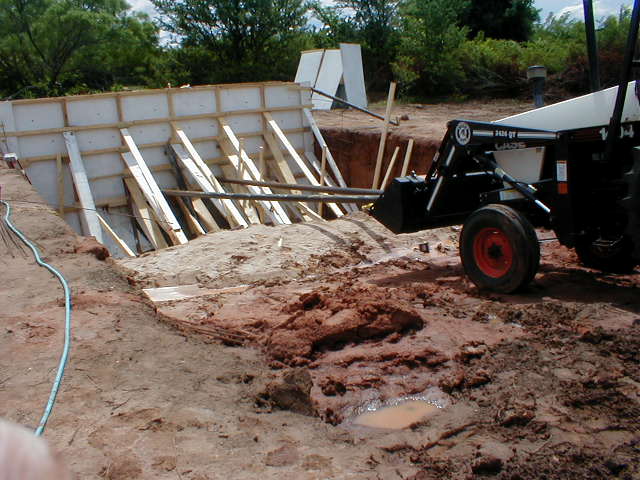
The pump house slab was poured early because of the problems pouring the first wall. We had enough humility (fear) to know that something might go wrong, or at the least we thought there might be excess concrete, so we prepared the forms for the pump house slab. Good thing, too.
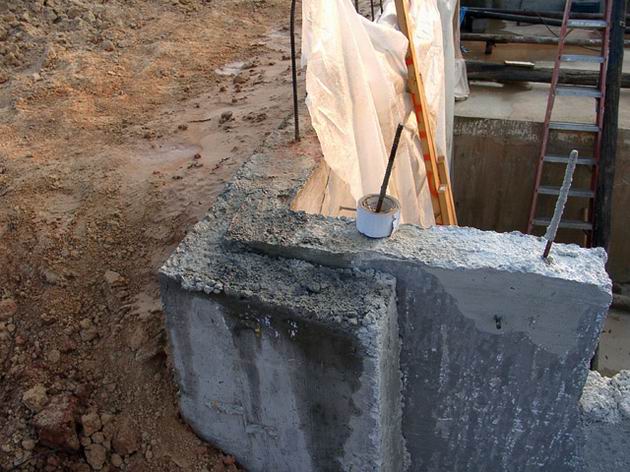
With the help of "The Tractor Beam" we finally got the first wall poured.
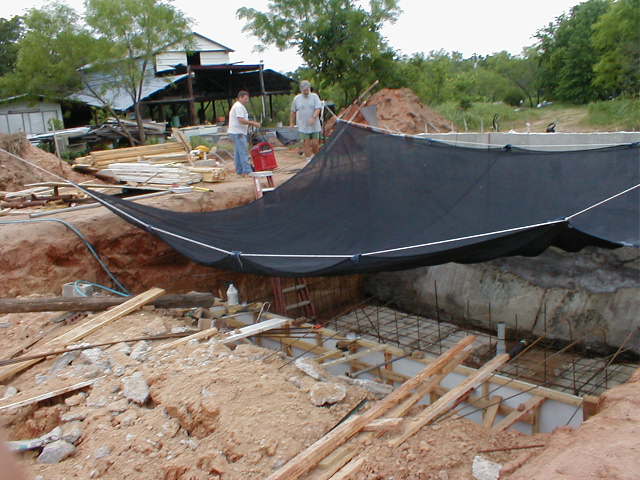
This shade cloth was instrumental in our finishing this pool in one summer. Without it, the sun would reflect off the end wall (West facing) and form a solar oven down in "The Pit" as it came to be known.
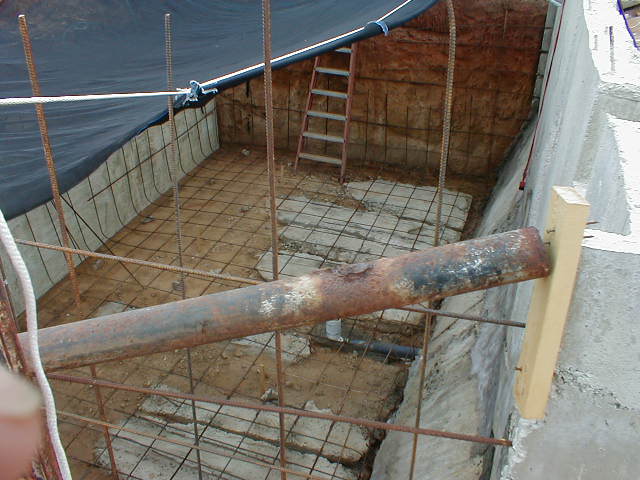
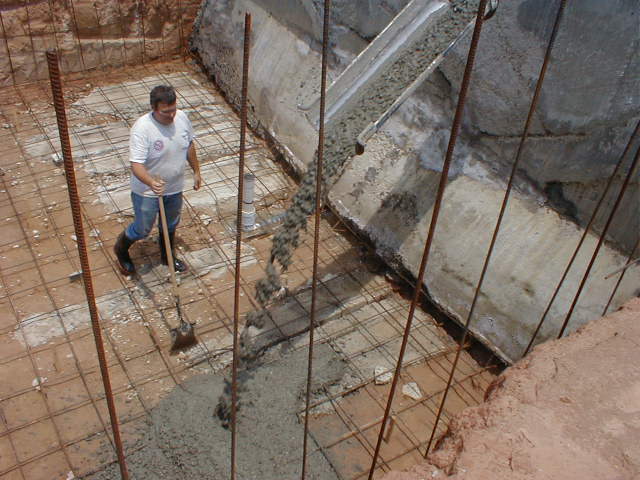
As I mentioned earlier, the rebar grid was all welded. We never counted, but there were several thousand welds. One can see the plumbing for the bottom filter intake and the spilled concrete from the blown forms in the bottom of The Pit. We raked out the spilled concrete so it could be incorporated into the floor and not wasted.
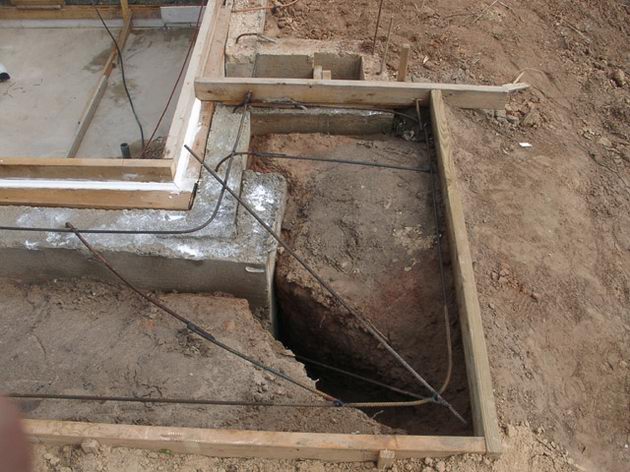
In the picture above, one can see the "keying" of the end wall. The side walls were poured around these keys as shown below.
The sidewalk helps lock everything together, too.
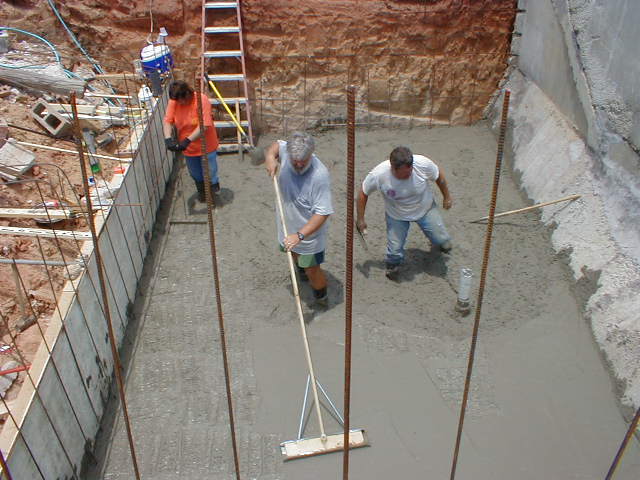
Here we go with the first floor pour. The floor concrete flowed under the end wall and up onto the face of the sloped part of the end wall.
One thing of interest, at least to us, is how much weight we all lost over this summer of brutally hard work. At this point we were just getting started. Of course, if you look at the finished pool pictures from a year later, you'll see that we put it all back on.
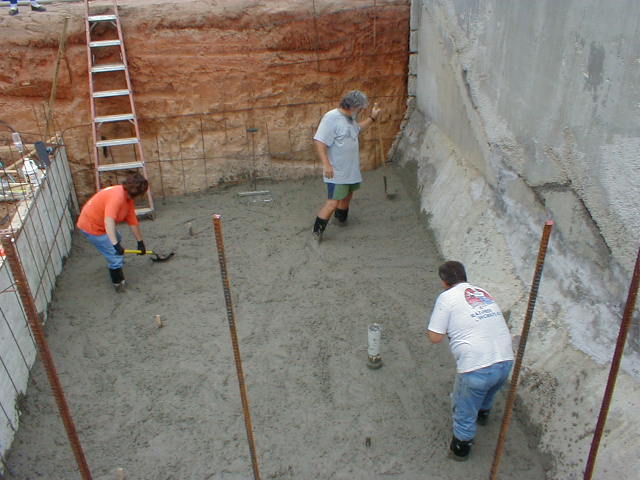
We made tools when it seemed cost effective. The bull float below saved us about $35 and worked well enough. Sheril (in the orange shirt) is using a jitterbug made from an old refrigerator rack.
Construction links: 1 2 3 4 5 6 7 8 9 10