Page 7
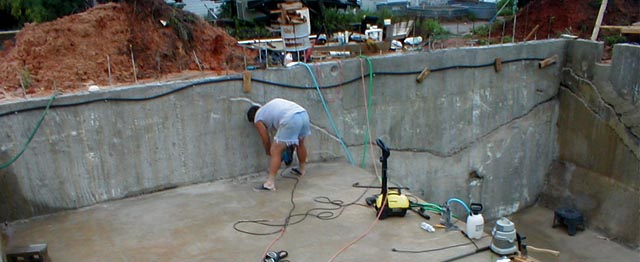
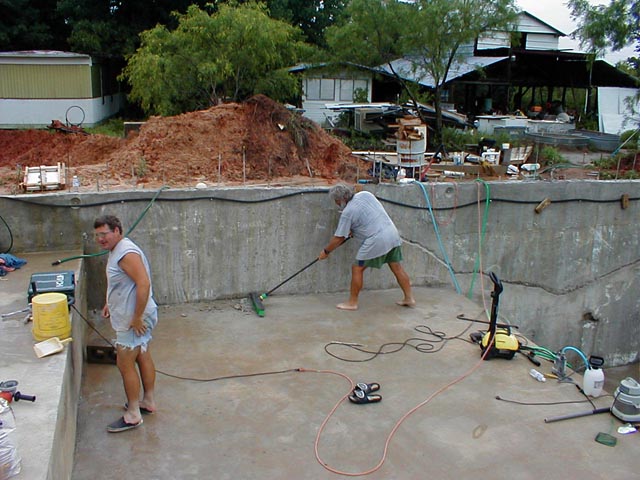
Here are some pictures of the grinding and jack hammering on the walls. We ended up grinding almost the entire wall surface in preparation for tiling. We used 4.5 inch side grinders and masonry wheels for this purpose as well as a pair of hand held jack hammers for hammering out the cold joints and voids. The "smile" as we called it (shown below) is the joint between the 2 pours of the wall. All such joints had to be hammered out and sealed with Thorite®. This included all the joints between the walls and the floors, the corners, under the sidewalk, and every seam everywhere.
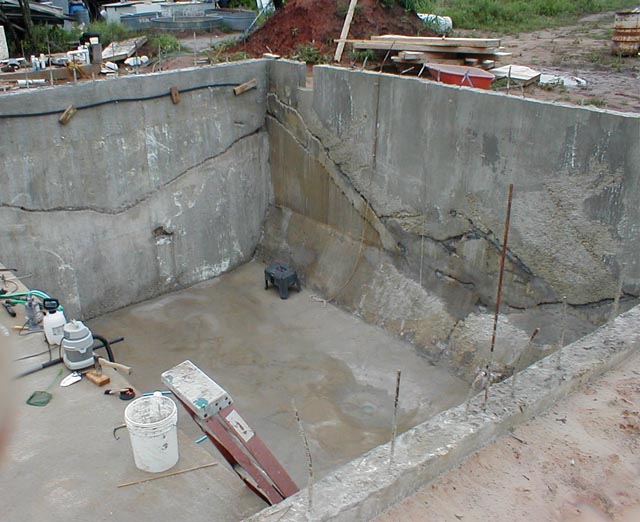
This picture shows the seams and voids about half way through the repair process.
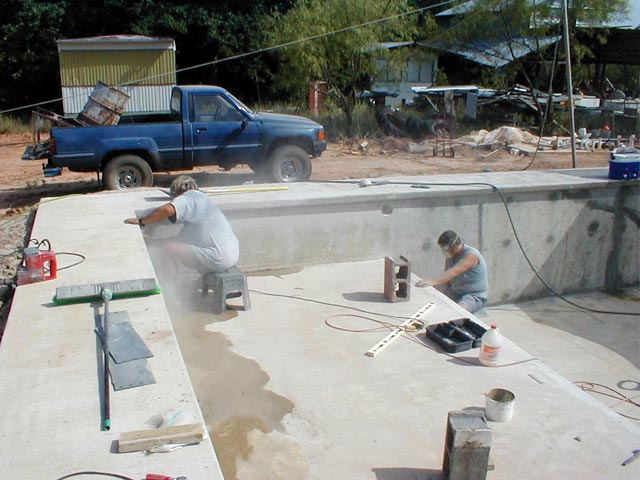
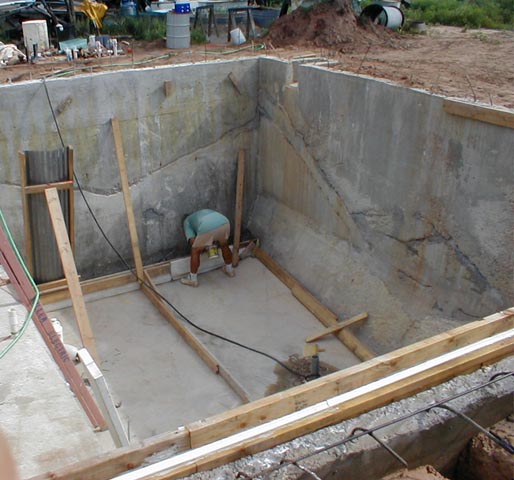
To strengthen the joint at the bottom of the deep end walls, we decided to pour fillets in the corners where the forces would be the greatest. This picture shows us ready to pour the fillet and the chute to get the concrete into the right place. Look for the finished fillets in pictures on the following pages.